
To align fishing rod components accurately, use a rod building jig with alignment marks. Secure the rod blank on the jig and line up each component with these reference points.
Building your own fishing rod allows for customization and a deeper connection to the angling experience. To ensure precision during assembly, a fishing rod building jig is essential. This specialized tool supports the rod blank while you install the guides, reel seat, and handle.
A well-aligned rod not only performs better but also maximizes the effectiveness of your fishing techniques. Achieving proper alignment involves a keen eye and patience, as the placement of each component affects rod action and sensitivity. A jig with clear alignment marks becomes an invaluable asset, guiding the builder to a professionally finished rod. Whether for hobbyists or professional rod builders, this process requires attention to detail to result in a balanced and effective fishing tool.
Setting The Stage For Precision
Building a fishing rod demands attention to detail. Every component must align for optimal performance. A fishing rod building jig is crucial. It ensures precision and simplifies the process.
The Role Of A Fishing Rod Building Jig
A jig holds parts in place. It allows for accurate placement and alignment. Whether you’re a beginner or a pro, a jig helps craft rods with ease and accuracy.
Essential Tools And Materials For Rod Alignment
- Measuring tape: for accurate length checks
- Alignment marks: guide placement
- Eyelets: ensure straight line flow
Arrange tools within reach. Check your materials. Ensure you have the following:
| Tool/Material | Use |
|---|---|
| Building Jig | Stabilizes rod components |
| Guide Foot Adhesive | Secures guides in place |
| Ferrule Cement | Binds rod sections |
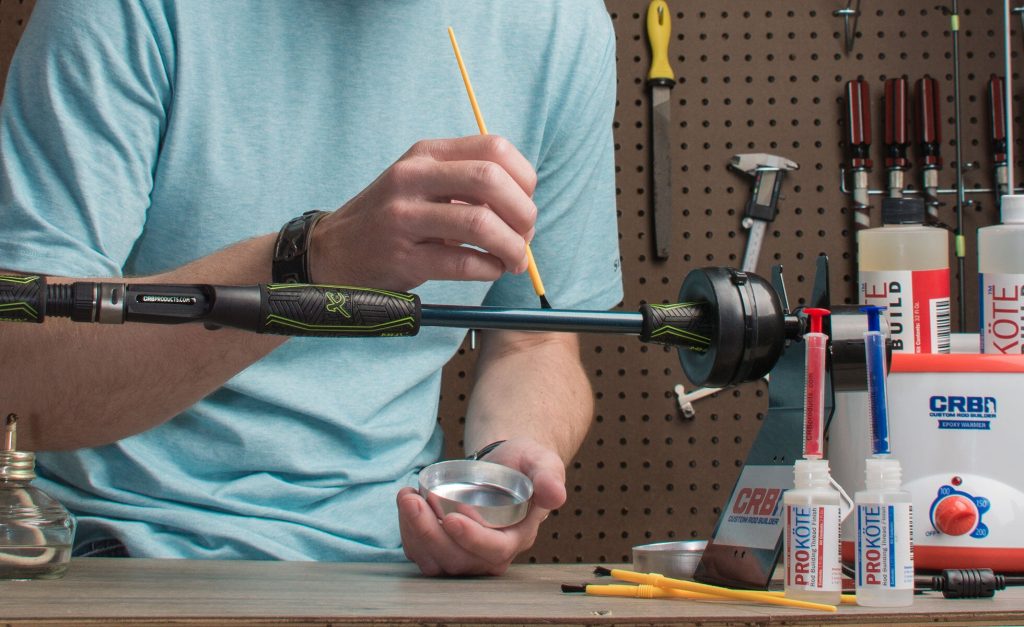
With the jig and tools set, start aligning. Fix the rod’s butt section. Apply ferrule cement to join sections. Position and glue guides using the adhesive. Check alignment with eyelets. The jig keeps components in a perfect line. Achieving a professional-grade fishing rod from home has never been more attainable.
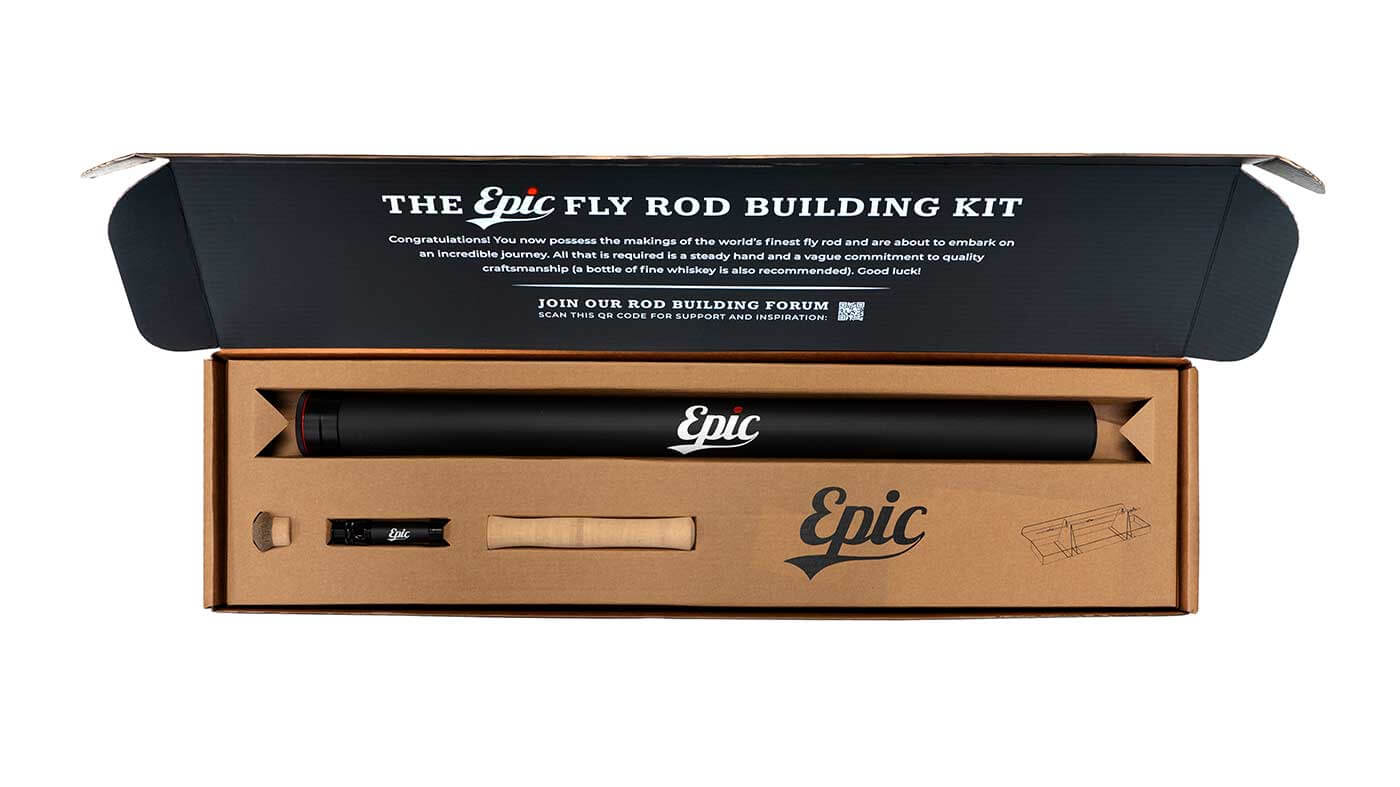
Credit: www.epicflyrods.com
Assembling Your Fishing Rod Building Jig
Building a custom fishing rod brings satisfaction like no other. A crucial step in this DIY adventure involves assembling a fishing rod building jig. This tool ensures accuracy and stability throughout the assembly process. Follow these steps to start crafting your custom rod like a skilled artisan.
Proper Setup Steps
Begin with a clean workspace. Clear the area of clutter to prevent any mishaps. Ensure ample room for the jig and components. Lay out all parts and tools within reach.
- Check your kit. Verify all jig pieces are present. Refer to the included assembly guide.
- Assemble the base. Align and secure base components. This will create a solid foundation for your rod.
- Attach vertical supports. These elements must be perpendicular to the base. They will hold the rod in place.
- Install adjustable holders. These will grip the rod blanks and must be smoothly adjustable for different diameters.
- Calibrate the alignment system. Some jigs have indicators or markers to ensure your rod components align perfectly.
Completing these steps accurately will set you up for a successful rod building session.
Tips For Stability And Precision
Test the jig’s stability. Give it a gentle shake to ensure no wobble before starting. Solid jigs equal precise rods.
- Secure the jig to your workbench. Use clamps or heavy-duty double-sided tape if necessary.
- Double-check all fastenings. Tighten any adjustable parts. They should move when needed but stay fixed during the assembly.
- Use a centerline. Mark a straight line on the rod blank. Align it with the jig’s indicators for a balanced assembly.
- Practice component placement. Before applying any adhesive, practice placing guides and grips to ensure a seamless fit and alignment.
These tips can help avoid common pitfalls ensuring a professional outcome.
Mounting The Rod Blank
Building your custom fishing rod means aligning components with precision. Mounting the rod blank is the first step, and it’s essential. A fishing rod building jig helps ensure accuracy before you start adding guides and handles.
Securing The Rod Blank In Place
To start, position the rod blank. The rod building jig has clamps and stands. Use these to hold the rod blank firmly. Make sure it does not move. This helps in attaching other parts straight.
- Open the jig clamps.
- Place the rod blank in the center of the clamps.
- Close the clamps around the blank gently.
- Adjust to avoid any bends or pressure points on the rod.
Checking For True Center
With the rod blank secured, check alignment. True center is when the rod spins without wobble.
- Turn the rod gently in the jig.
- Look for smooth rotation at both ends.
- If you notice wobble, readjust the rod blank in the jig.
Use alignment tools if available. They help find the true center. Once aligned, you can start attaching guides, reel seats, and handles!
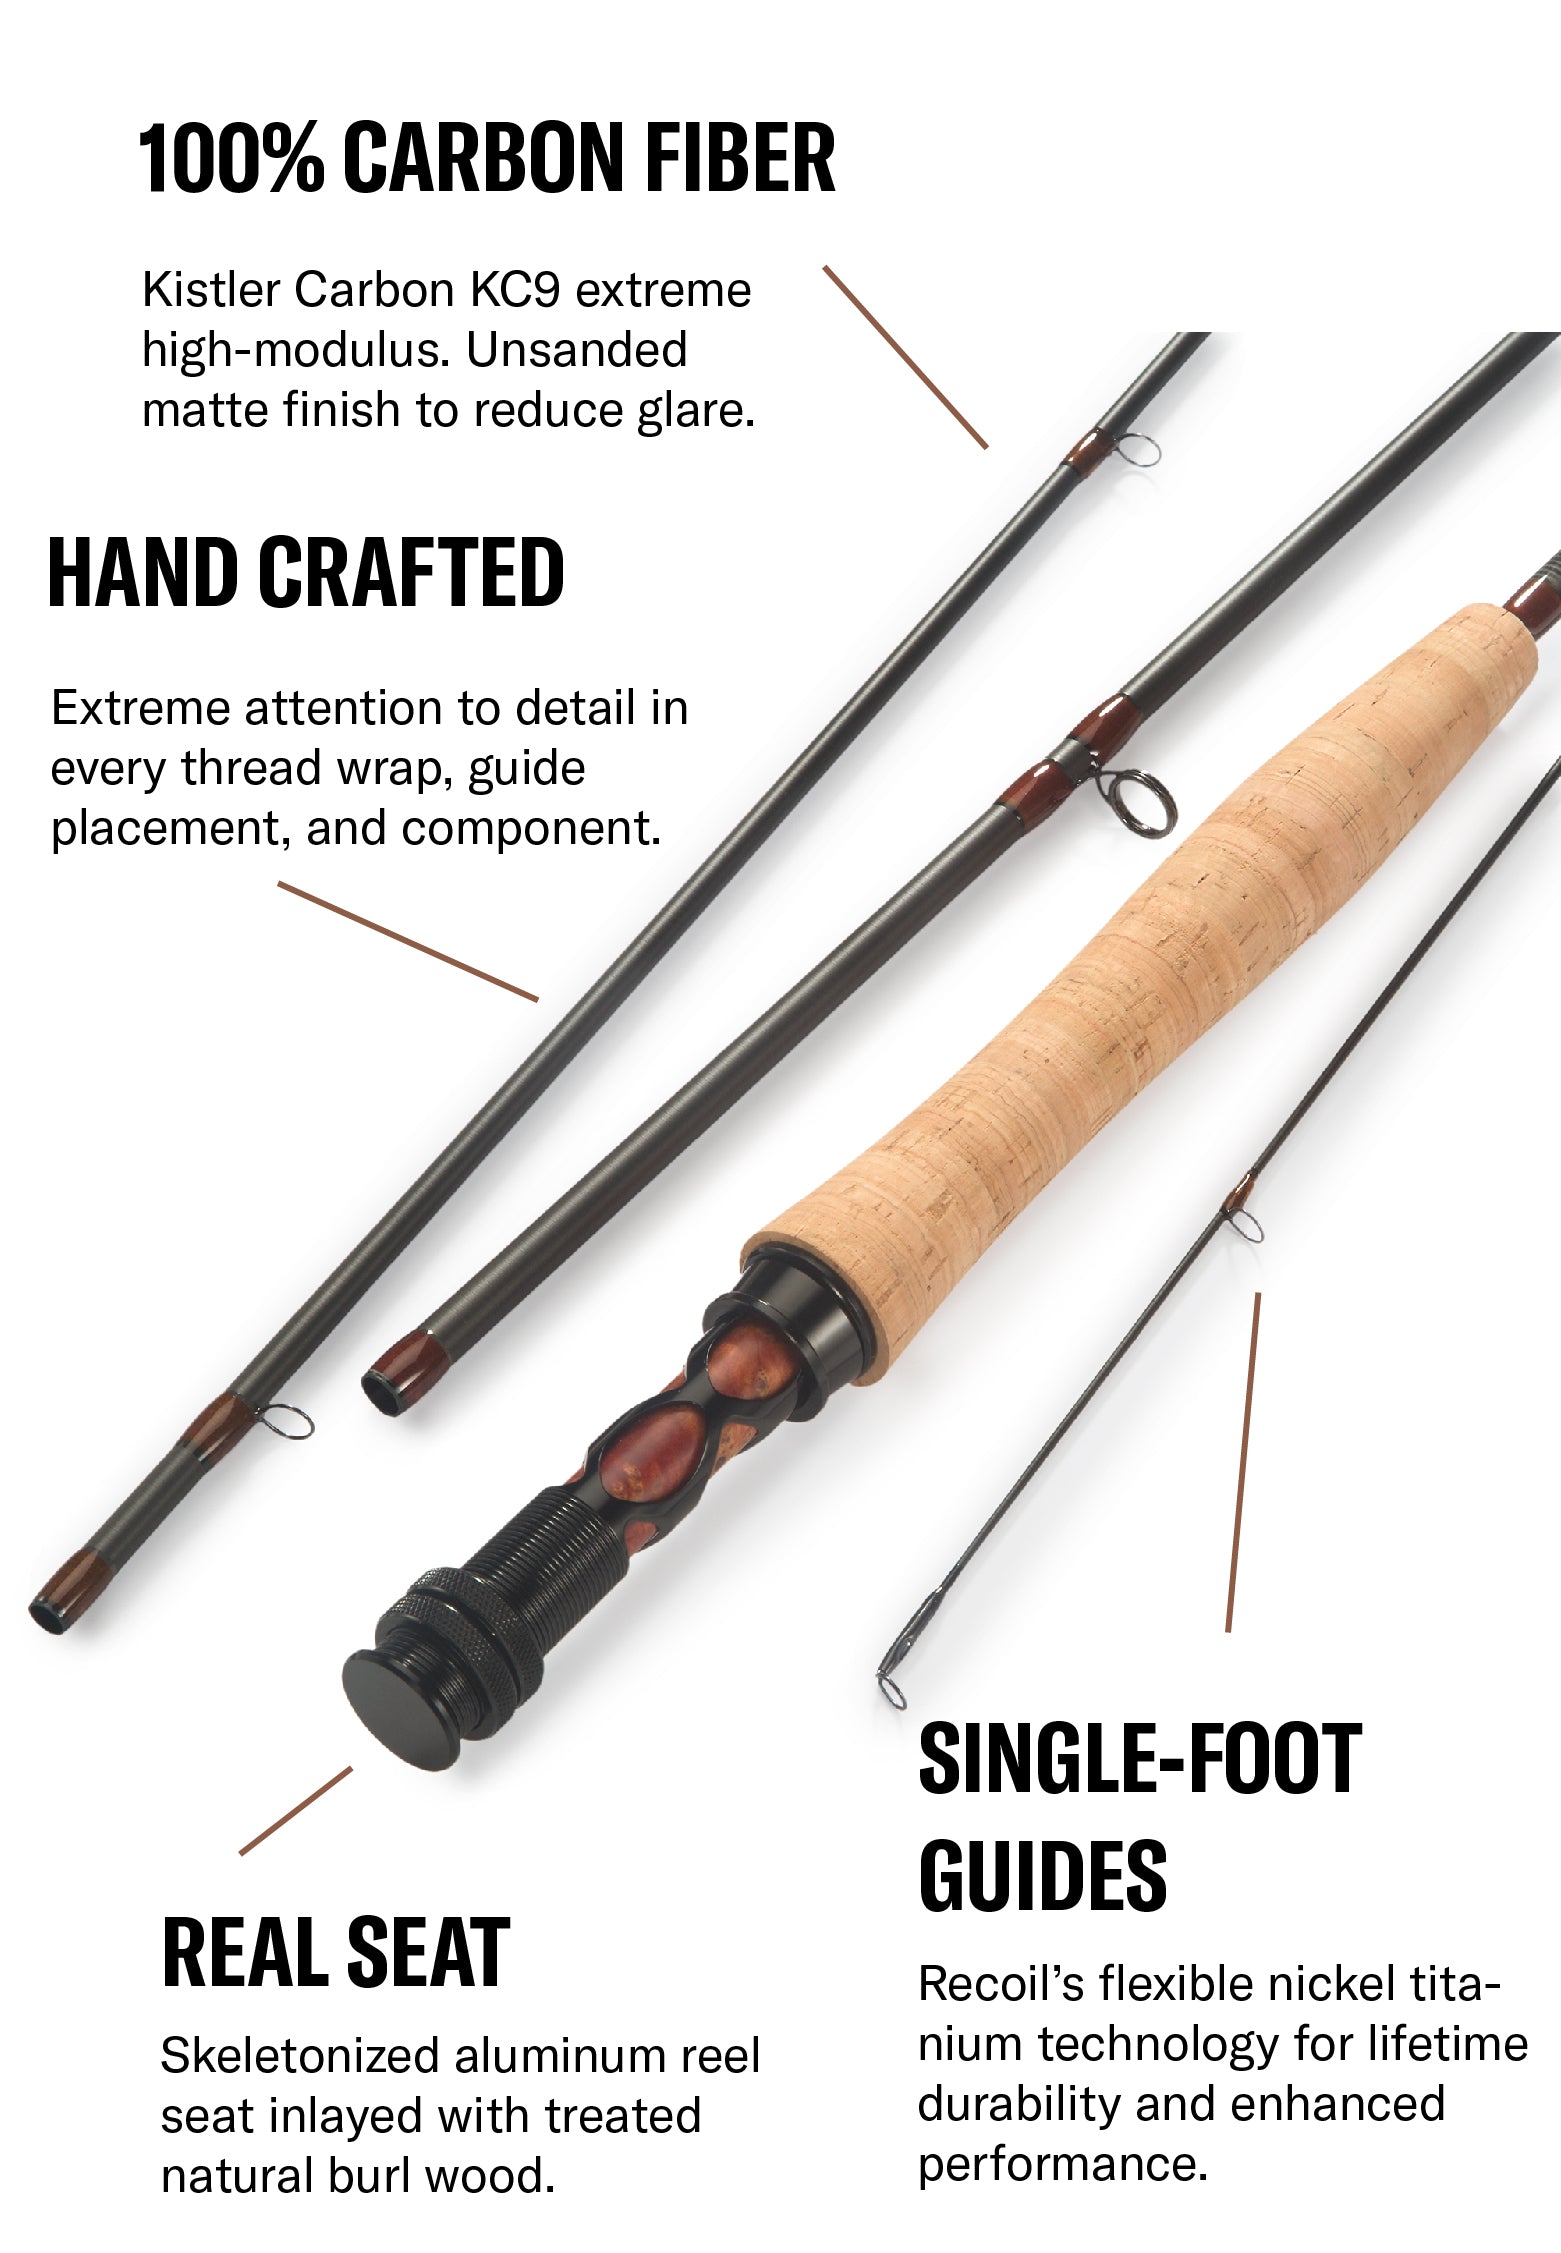
Credit: kistlerrods.com
Aligning Guides And Tip Top
Attention all anglers aiming for precision in fishing rod assembly! One crucial step in crafting the perfect rod is aligning guides and tip-top correctly. This ensures smooth casting and retrieves, as well as prolonging the life of your fishing line. With a fishing rod building jig, it becomes an easy, error-free process.
Spacing Guides Evenly
Proper guide spacing is essential for a balanced rod. The building jig helps place guides at precise intervals.
- Secure your rod on the jig.
- Refer to a spacing chart for your rod length.
- Start aligning guides from the handle towards the tip.
- Use small pieces of tape to position guides for test alignment.
- Check alignment by sighting down the rod.
- Adjust as needed before final attachment.
Even spacing avoids unnecessary stress on the rod, improves casting accuracy, and ensures a smooth line flow.
Setting The Tip Top Straight
Aligning the tip-top with the guides ensures a straight and true fishing rod.
- Apply a small amount of adhesive to the tip-top.
- Place the tip-top on the rod’s end.
- Use the jig’s alignment tools to line it up with the guides.
- View from different angles to ensure straightness.
- Let the adhesive cure as per instructions.
A straight tip-top optimizes rod action and sensitivity.
The Importance Of Guide Alignment
Guide alignment is a critical step in building a fishing rod. Proper alignment ensures your rod performs at its best. It affects accuracy and efficiency during casting. Missing alignment can lead to line friction. Line friction can cause casting distance to decrease. It can also result in uneven wear on your fishing line. Better guide placement means a smoother performance. Smooth performance helps in achieving an optimal fishing experience.
Impact On Casting Accuracy
Accurate guide alignment holds the key to precise casting. Guides direct the line from the reel to the tip. If guides are not straight, the line may zigzag along the rod. This zigzag can ruin casting accuracy. A straight path allows the line to exit the rod smoothly. This results in better aim and greater distances.
Guide Alignment Techniques
To align guides correctly, you can follow these steps:
- Lay out your rod on a flat surface. This helps you see alignment clearly.
- Use a fishing rod building jig. It holds the rod’s components in place.
- Start with the tip-top guide. It sets the direction for others.
- Move down the rod. Align each guide with the tip-top.
- Use a straight edge or string for precision.
- Look down the rod to check alignment visually.
- Make small adjustments as needed.
- Secure each guide with rod wrapping thread.
Some anglers prefer to use a laser alignment tool for added precision. Keep all tools and components within easy reach. This streamlines the process.
Attaching The Reel Seat
The journey to a custom-built fishing rod brings us to a crucial step: attaching the reel seat. It’s where precision meets the blank. Aligning rod components demands a steady hand and a keen eye for detail. The reel seat, your rod’s command center, must sit perfectly for the best fishing experience. Let’s dive into aligning it with precision using a rod building jig.
Finding The Perfect Placement
- Determine the right position on the rod blank for comfort and balance.
- Place the reel seat onto the blank and align it with the mark.
- Using the rod building jig, secure the blank in place.
- Adjust the jig to hold the reel seat at the desired location.
Ensuring Symmetry With The Rod Blank
It’s essential for the reel seat to align with the rod’s spine. Symmetry is key for a well-balanced rod. Follow these steps to ensure perfect symmetry:
- Locate the rod’s spine using the “flex” method.
- Mark the spine’s direction clearly on the rod blank.
- Align the reel seat with the spine mark. Use the jig for accuracy.
- Double-check alignment. Look down the rod’s length for confirmation.
Test And Adjust
Now that the fishing rod components are in place with a building jig, it’s crucial to align them properly. The ‘Test and Adjust’ phase is where precision meets performance. Proper testing ensures a smooth, straight cast while fishing. Let’s explore how to verify alignment and make accurate adjustments.
Performing A Static Load Test
To begin, conduct a static load test on your rod. This process checks if the guides align when stress applies. To perform this test:
- Secure your rod horizontally on the building jig.
- Attach a line to the tip-top guide.
- Pull the line through all guides, attaching a weight at the end.
- Inspect the bend of the rod and the line’s flow through the guides.
- Identify any misalignments as the rod flexes under pressure.
This test indicates where you need to make adjustments to achieve perfect alignment.
Making Precise Adjustments
Making precise adjustments is essential for optimal rod performance. Follow these steps:
- Start at the tip and work towards the handle.
- Loosen the guide needing adjustment.
- Re-align the guide so the line passes through its center.
- Temporarily secure the guide and test the alignment again.
- Continue adjusting each guide until the line runs straight.
Repeat the static load test after every adjustment. This process ensures that your rod components align accurately for the best fishing experience.
Finishing Touches
Finishing Touches are crucial in aligning fishing rod components using a fishing rod building jig. These touches ensure the rod functions well and lasts long. Let’s explore how to apply epoxy and finish and conduct a final inspection with a checklist.
Applying Epoxy And Finish
The integrity of your fishing rod hinges on properly applying epoxy. First, ensure the rod and all components are lint and dust-free. Apply a thin, even layer of epoxy over the thread wraps, using a rotating rod dryer to keep the finish smooth while it cures. Avoid bubbles by taking it slow and using a fine brush. Epoxy not only secures the components but also adds a professional sheen to your rod.
Final Inspection Checklist
Conducting a final inspection guarantees your rod is ready for the water. Follow this simple checklist:
- Check alignment of guides against the jig’s reference line.
- Ensure all wraps are tight and fully covered with epoxy.
- Look for any epoxy drips or uneven areas.
- Confirm the reel seat is firmly attached without wobble.
- Spin the rod to inspect for any overlooked imperfections.
Address any issues found during the inspection. A thorough final check ensures reliability and boosts your confidence in your newly built rod.
Maintenance And Care Of Your Custom Rod
Maintaining your custom-built fishing rod ensures optimal performance. A well-cared-for rod not only lasts longer but also keeps alignment precise for accurate casting. Learn the essentials of cleaning, storage, and regular checks to keep your rod in top condition.
Cleaning And Storage Tips
Keep your rod clean and dry to prevent damage. Follow these simple steps:
- Rinse with fresh water after each use, especially if in saltwater.
- Use a soft cloth and mild soap for grime.
- Avoid harsh chemicals that can break down materials.
- Dry completely before storing.
For storage:
- Store in a cool, dry place out of direct sunlight.
- Use a rod sleeve or tube to protect from dust and scratches.
- Hang or lay flat to prevent bending or warping.
Regular Check-ups For Alignment
Alignment affects performance. Perform regular check-ups:
- Inspect guides for wear and alignment.
- Look for bent, loose, or damaged parts.
- Test ferrules for a snug fit.
- Correct issues immediately to maintain optimal function.
| Component | Check Frequency | Action |
|---|---|---|
| Guides | After each use | Align and secure |
| Ferrules | Monthly | Test fit |
| Wraps | Bi-monthly | Inspect for fraying |
Regular care keeps your rod in prime condition for every fishing adventure.
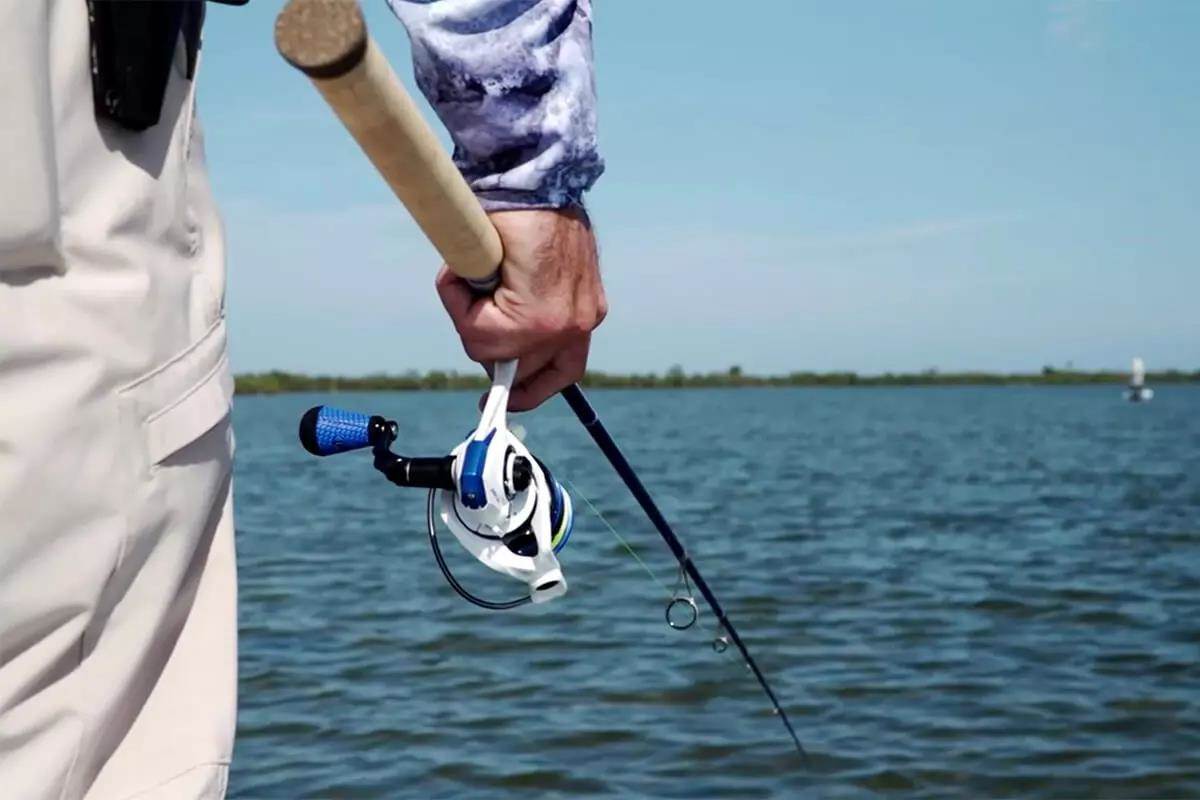
Credit: www.floridasportsman.com
Frequently Asked Questions On How Do You Align Fishing Rod Components Accurately With A Fishing Rod Building Jig?
What Is A Fishing Rod Building Jig?
A Fishing Rod Building Jig is a tool designed to hold rod components. It ensures precise alignment while constructing or repairing a fishing rod. This jig stabilizes pieces during the assembly process, allowing for accurate guide placement and spacing.
How To Use A Rod Building Jig Effectively?
To use a rod building jig effectively, secure the rod blank in the jig. Adjust for length and component size. Align the guides using the jig’s measurement markers, ensuring even spacing and a straight line along the rod’s length.
Benefits Of Using A Rod Building Jig?
Using a rod building jig offers benefits like enhanced precision during rod assembly. It ensures guides and handles are aligned accurately. This results in a balanced rod, better casting performance, and an overall improved fishing experience.
Can You Build A Rod Without A Jig?
Yes, you can build a rod without a jig, but it’s challenging. A jig aids in achieving precise guide alignment and even spacing. Without it, maintaining uniformity is tough and often results in suboptimal rod performance and appearance.
Conclusion
Building the perfect fishing rod is within your reach using a reliable fishing rod building jig. Achieving precision alignment of your rod’s components no longer needs to be a daunting task. With the right jig and a bit of patience, your custom fishing rod will come together flawlessly, ready to enhance your angling adventures.
Embrace the satisfaction of DIY craftsmanship and get ready to cast your perfectly aligned rod on your next fishing trip.
